Build and operate menus
Create a menu for a location and channel, connect each item to the stock it consumes, then manage presentation and daily availability.
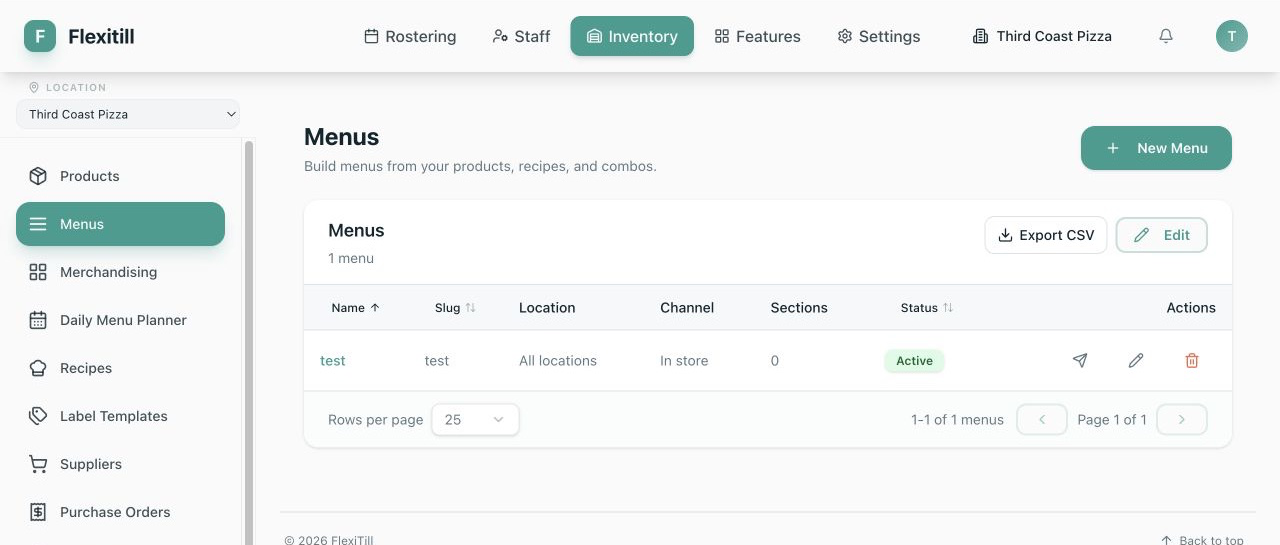
Create and activate a menu
Where to find it·Menus
- 1Choose New Menu and enter a distinct name and slug.
- 2Select the location and sales channel where the Menu applies.
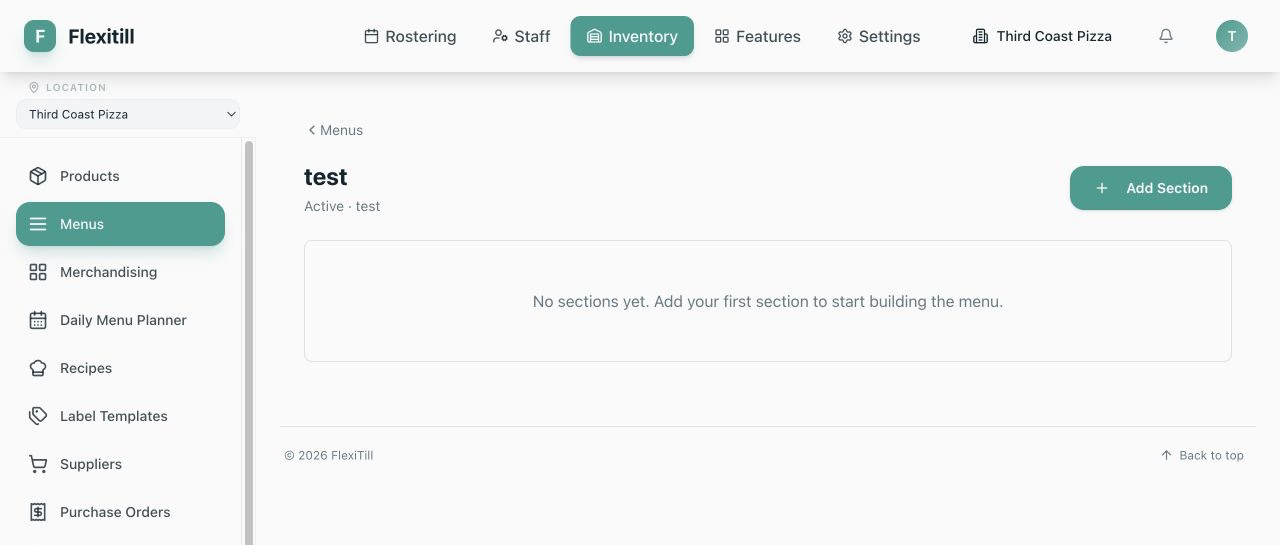
- 3Save, then add Sections in the order customers or staff should see them.
- 4Add Menu Items to each Section and configure their pricing and stock effect before activation.
- 5Review the complete structure and activate the Menu only when every Item is ready for sale.
Configure menu item basics
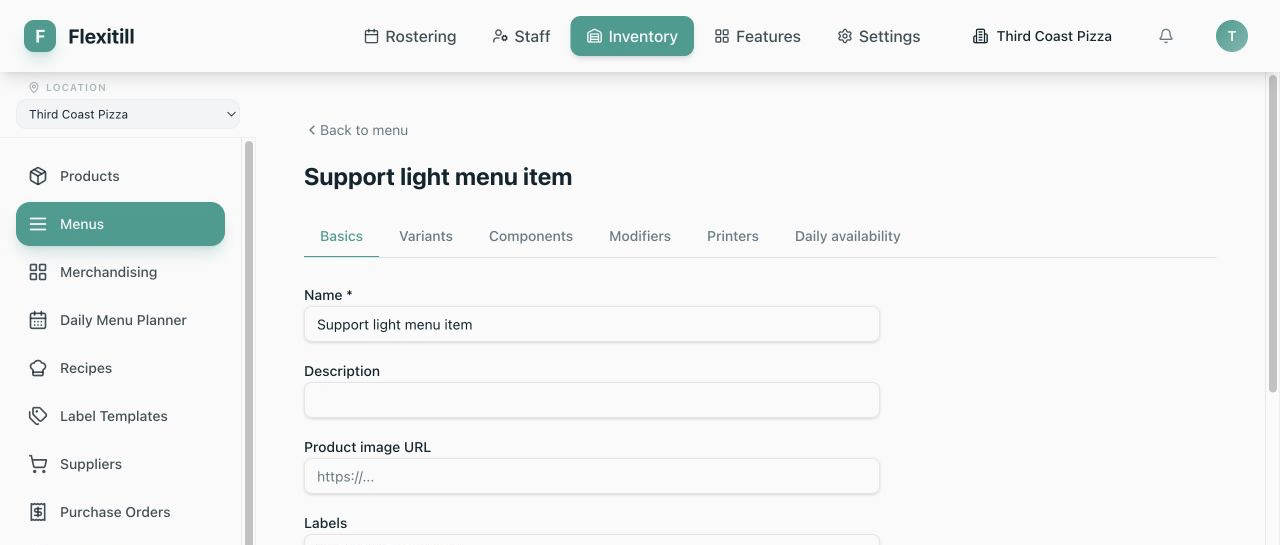
Where to find it·Menus → choose a Menu → choose an Item → Basics
- 1Enter the Item name and description, and add its image URL and labels where used.
- 2Link the Product that represents the Item and check the effective price and tax explanation.
- 3Use a price override only when this Menu Item must differ from its normal Product price.
- 4Configure whether it is active, available to external services, variable-priced and printed on the receipt.
- 5Choose and verify the stock effect before saving.
Choose how a menu item consumes stock
None
The sale does not deduct stock. Use only when no inventory effect is intended.
Direct Product
The sale deducts the linked Product directly.
Recipe Product
The sale follows the linked Recipe/output Product consumption path.
Components
The sale deducts the Products and quantities configured on the Item's Components tab.
Variant-defined
Each Menu Item Variant defines its own source Product and quantity.
- 1Choose the stock-effect mode that matches how the Item is prepared and sold.
- 2Complete the required Product, Recipe, Component or Variant configuration.
- 3Read the consumption preview and resolve every validation warning.
- 4Save and test one representative sale in a non-production environment before relying on automatic stock deduction.
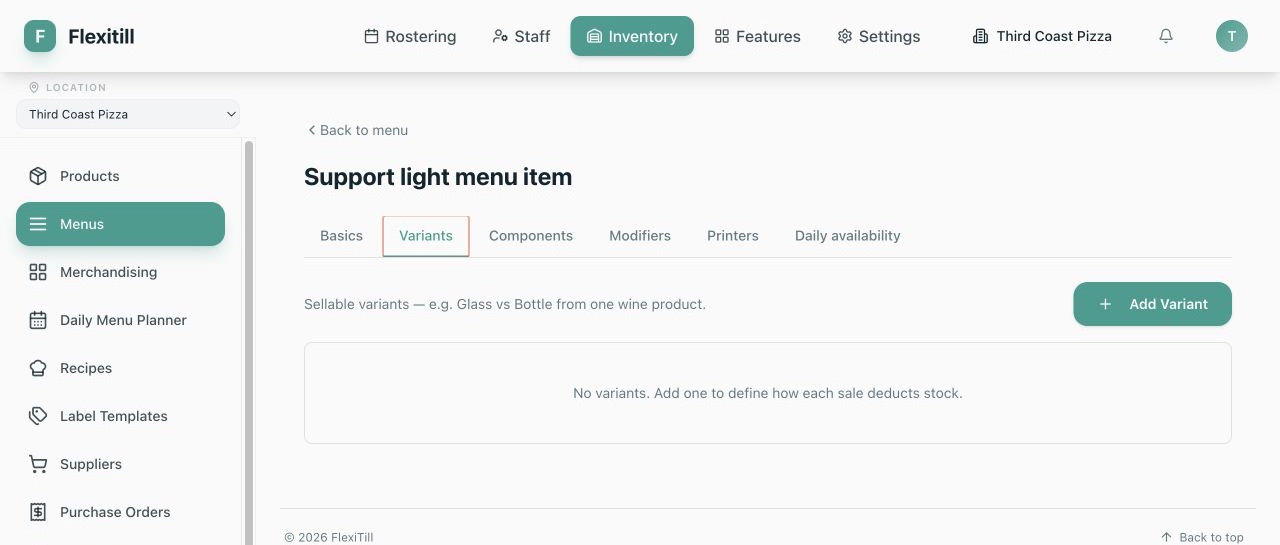
Add item variants
Where to find it·Menu Item → Variants
- 1Choose Add Variant and enter the customer-facing Variant identity.
- 2Select the source Product and the quantity consumed per sale.
- 3Set its price or price adjustment and active status.
- 4Save and repeat for each independently sold option.
- 5When using Variant-defined stock effect, check that every active Variant has a valid source Product and consumption quantity.
Configure components and modifiers
Components
- 1Open Components and add each Product always consumed by the Item.
- 2Enter the base or compatible quantity consumed per sale and save.
- 3Return to Basics, select Components as the stock effect and verify the consumption preview.
Modifiers
- 1Open Modifiers and attach an existing Modifier group or create the required group and options.
- 2Set selection rules and prices so the till enforces the intended minimum, maximum and option behaviour.
- 3Where a Modifier changes stock consumption, check that its linked Product and quantity are configured before sale.
Route an item to printers
Where to find it·Menu Item → Printers
- 1Open Printers and select the preparation printers that should receive this Item.
- 2Check any location or service-area routing rules that may override the default destination.
- 3Save, then send a controlled test order and confirm it reaches only the intended stations.
Set item-level daily availability
Where to find it·Menu Item → Daily Availability
- 1Choose the location and date.
- 2Set availability and optional description or price override for that day.
- 3Enter a portion limit where stock or production is limited and record sold quantity only when operational reconciliation requires it.
- 4Check the remaining portions, save, and verify the Item's daily state in the Daily Menu Planner.
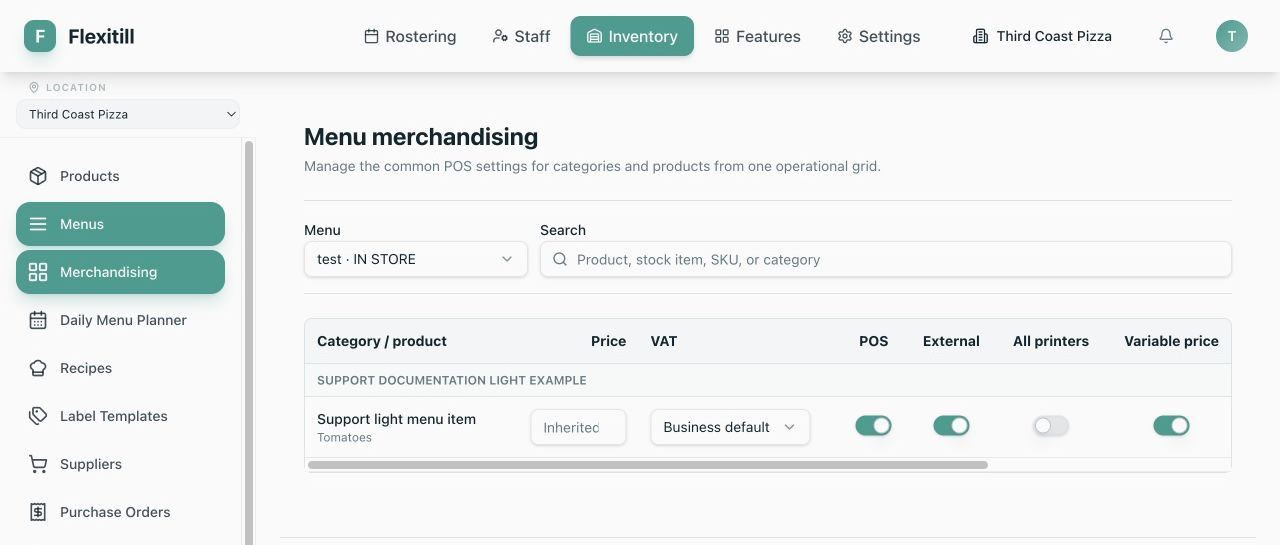
Bulk-update merchandising
Where to find it·Menus → Merchandising
- 1Select the relevant Menu or filter until the required Items are visible.
- 2For each Item, review its price override, tax Category and stock/Recipe status before changing presentation settings.
- 3Set the required POS, external-service, print-all, variable-price and receipt toggles.
- 4Save the row. Row-level saving keeps unrelated Item edits independent.
- 5Use Open Item when stock consumption, Variants, Components, Modifiers, printers or daily rules need full configuration.
Plan a week of menu availability
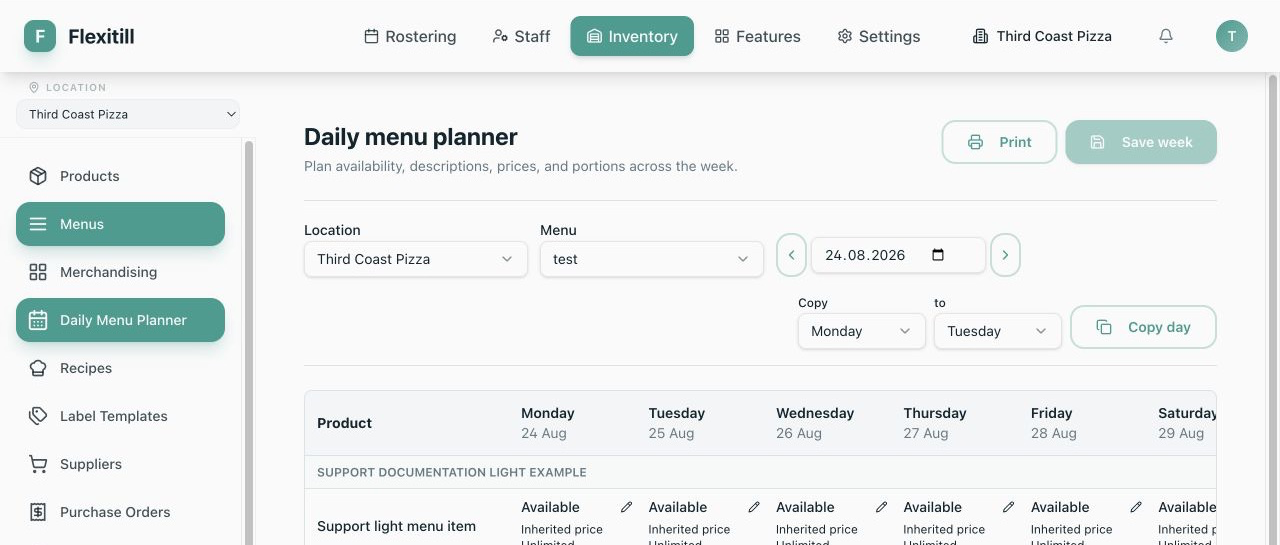
Where to find it·Menus → Daily Menu Planner
- 1Select the location and Menu, then navigate to the required week or date.
- 2For each day, set Item availability and any description or price override.
- 3Enter the portion limit and sold quantity where used, then check Remaining.
- 4Use Copy day when another date should begin with the same plan, then review exceptions before saving.
- 5Save all changed cells and wait for confirmation before navigating away.
- 6Choose Print when the kitchen or service team needs a physical plan.