Purchase and receive stock
Connect supplier packs to internal Products, order the right quantities, receive them into the correct stock balances, and preserve an auditable receipt history.
How purchasing records fit together
Supplier
The organisation, contacts, address and purchasing history.
Supplier Product
One supplier offering linked to an internal Product, with pack cost and stock conversion.
Purchase Order
What you intend to buy and how much remains to be received.
Delivery Receipt
What physically arrived. Posting it adds stock, cost and audit history.
Understand the purpose of a supplier product
Your internal Product answers “what stock is this?” A Supplier Product answers “what exact catalogue line can we buy, from whom, in what order unit, at what price, and how much internal stock arrives?” It is the translation layer between supplier paperwork and your stock ledger.
Same Product, different suppliers
Internal Product Tomatoes can link to Supplier A's 5 kg case and Supplier B's 6 kg crate. Each line keeps its own code, cost, minimum order, lead time and conversion, but both receipts add to Tomatoes.
Same supplier, different pack sizes
A wholesaler's case of 12 cans and case of 24 cans should be two Supplier Products when they have different catalogue codes or prices. Both can add to the same can Product or Variant.
Different brand, shared stock pool
If Mutti and another tomato brand are interchangeable in the kitchen and are not counted separately, keep one Tomatoes Product and record brand/manufacturer on each Supplier Product.
Exact Variant supply
A supplier line for Medium black logo T-shirts should link to the Medium/Black Product Variant because receiving it must increase only that independently counted balance.
Choose between a variant, product pack and supplier product
Product Variant = what is independently in stock
Use for a size, colour or format with its own SKU and balance. It survives after the supplier packaging is removed.
Product counting/handling unit = a reusable way to handle stock
Use for Bottle, Case of 24 or Bag when that conversion is useful in counts or handling and can be reused across supplier relationships.
Supplier Product = how one vendor sells it
Use for the vendor's name, code, order unit, price, minimum, lead time and conversion. It may reuse a Product pack or define a supplier-only conversion.
Packaging alone is not a reason to create a Variant. Ask what remains after receiving: if a 24-can case is opened and the cans join the same 330 ml can balance, “case of 24” is a Supplier Product conversion. If a 330 ml can and 750 ml bottle remain separately sold and counted formats, those formats may be Product Variants, and each supplier case links to its exact Variant.
Supplier product examples with conversions
Example: flour bought in two bag sizes
Create one internal Product named Flour with base Unit g. Create a Supplier Product for a 10 kg bag and enter its contents as 10 kg; Flexitill previews that one bag adds 10,000 g. Create another Supplier Product with contents of 25 kg, which previews 25,000 g. If two 10 kg bags arrive, the receipt adds 20,000 g to Flour. Do not create 10 kg and 25 kg Variants when the flour becomes one interchangeable ingredient pool.
Example: a case supplying one drink variant
Product Sparkling Water has Variant Volume: 330 ml, Package: Can with base stock Unit each. The supplier sells one case of 24 cans for CZK 480 net. Link the Supplier Product to the 330 ml Can Variant, set order Unit to case and its contents to 24 each. Flexitill previews 24 each added per case and CZK 20 per can. Receiving three cases adds 72 only to that Variant.
Example: alternative wholesalers
Product Mozzarella is stocked in g. Supplier A sells a 2 kg pack for CZK 360 with one-day lead time; Supplier B sells a 5 kg pack for CZK 825 with three-day lead time. Create two Supplier Products whose contents are 2 kg and 5 kg; Flexitill resolves those to 2,000 g and 5,000 g. Mark the normal choice Preferred, while keeping the alternative active for comparison and emergency orders.
Create a supplier
Where to find it·Inventory → Suppliers
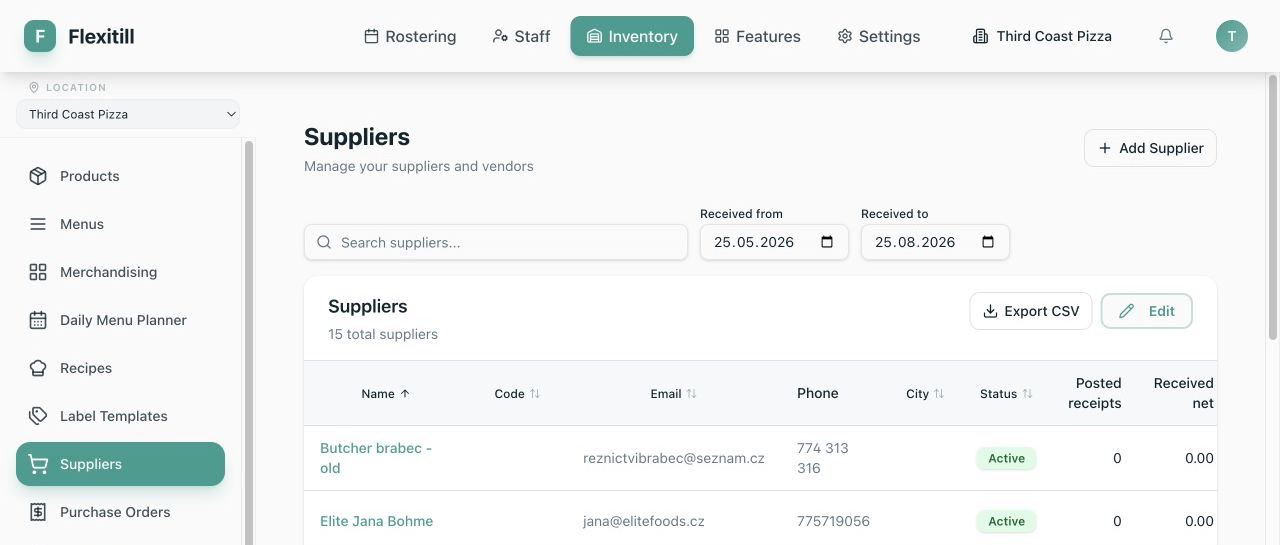
- 1Search the Supplier register to avoid creating a duplicate.
- 2Choose New Supplier and enter the Supplier name and internal code.
- 3Add tax ID, email, phone, website, address, city, state, postcode and country as available.
- 4Add operational notes such as ordering cut-offs, account references or receiving restrictions, then save.
- 5Open the Supplier to add contacts and Supplier Products before raising an order.
Maintain supplier contacts
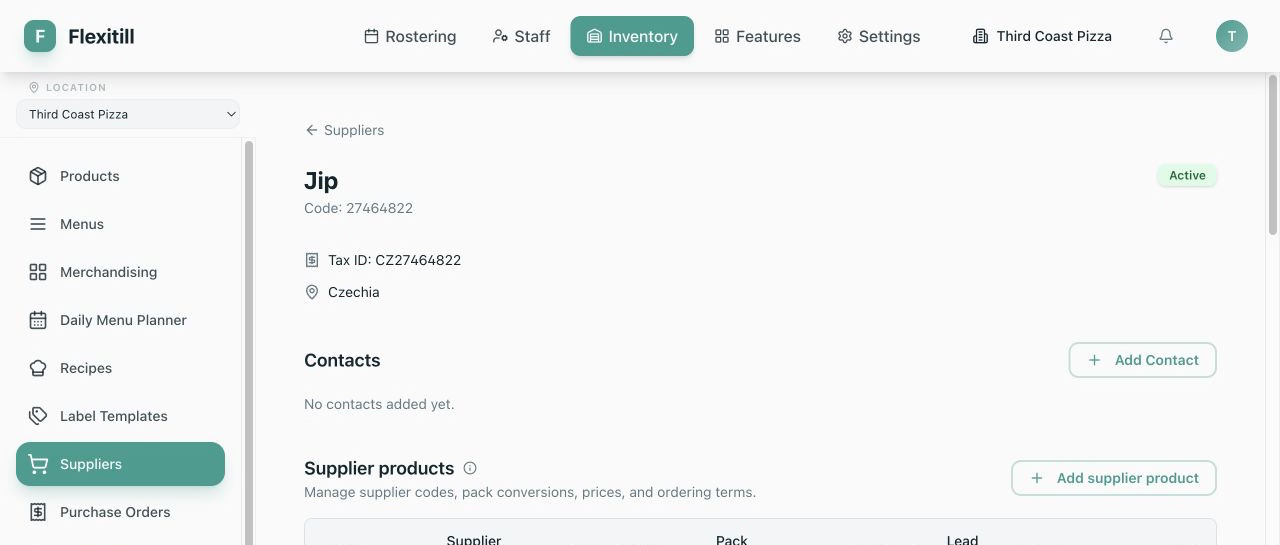
Where to find it·Inventory → Suppliers → choose a Supplier
- 1Choose Add Contact and enter the person's name, role, email and phone.
- 2Mark the main ordering or account contact as Primary.
- 3Save and repeat for delivery, account or escalation contacts.
- 4Edit a contact when responsibilities change or delete one that should no longer be used.
- 5Keep only one useful Primary contact so staff know who to approach first.
Link a supplier product
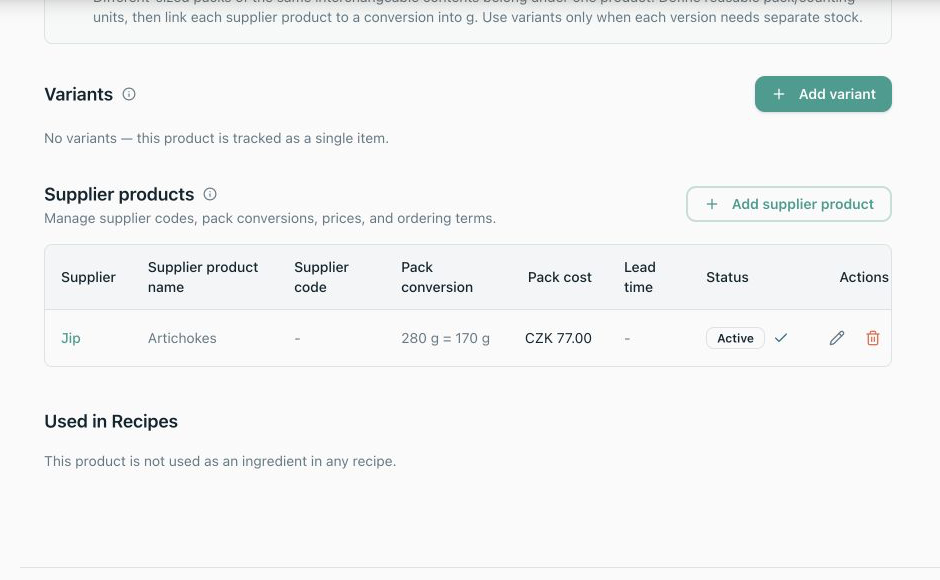
Where to find it·Inventory → Suppliers → Supplier Products, or Inventory → Products → Supplier Products
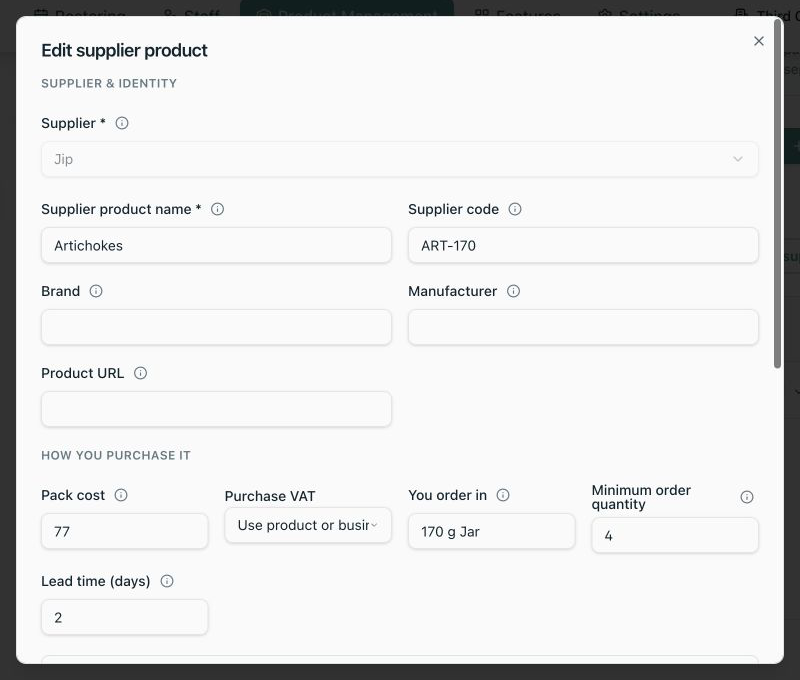
A Supplier Product says what the supplier calls an item, how it is ordered and priced, and how one purchase unit converts into your Product's base stock.
- 1Choose Add Supplier Product and select the Supplier and a purchased internal Product. Select an active Product Variant when the offering adds stock to one independently counted Variant.
- 2Enter the supplier-facing Product name exactly as it appears on quotes and invoices, plus the supplier code used for ordering and document-import matching. Add URL, brand, manufacturer and practical notes when useful.
- 3Enter the net cost before VAT for one order unit. Choose the purchase VAT override only when it differs from the Product or business default.
- 4Enter the order-unit label you actually buy, such as case, bag, tray or box. Minimum order is counted in these units; add the normal lead time in days.
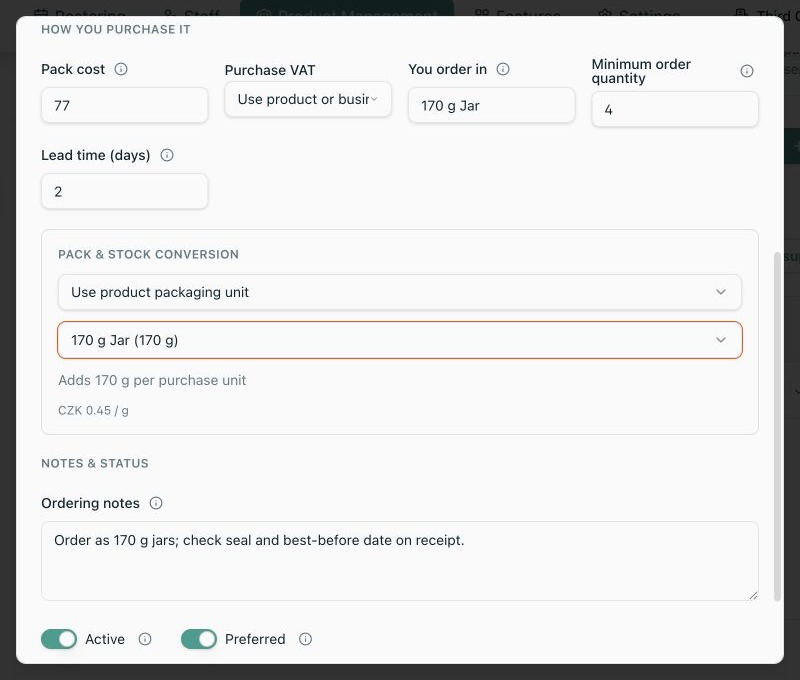
- 5Under Pack & stock conversion, choose Use product packaging unit when the same measured pack is already maintained on the Product. Select the pack whose Product/Variant scope matches the offering.
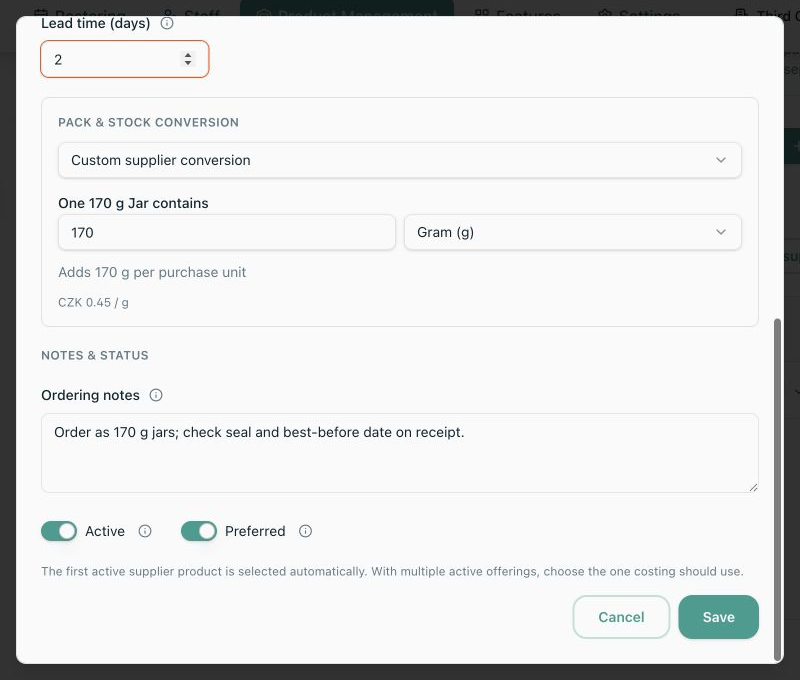
- 6Otherwise choose Custom supplier conversion and enter what one order unit contains as a positive quantity plus a compatible Unit. Flexitill converts the contents into the Product's base unit automatically, including valid mass-volume conversion when density exists.
- 7Check the live 'Adds … per purchase unit' statement and effective cost per base unit. If one case costs 24 and contains 12 each, the preview should add 12 and value one each at 2.
- 8Choose Preferred when this is the default offering and leave Active enabled, then save.
Avoid common supplier product mistakes
A preferred Supplier Product supplies a cost estimate only when automatic costing has no received cost. Updating its price does not replace an existing Product average. See Product costs and costing choices for pack-price calculations, moving averages and the effect of correcting receipts.
Pack cost entered per inner item
Pack cost is the net price for one order unit. Entering a per-can price while the order Unit is case understates Purchase Orders and receipt cost.
Contents entered in the wrong unit
Custom measured contents determine the stock conversion. For 6 × 750 ml bottles into an ml Product, enter the combined contents as 4,500 ml, or create and reuse a Product pack that represents the case accurately.
Product pack changed after use
When a Product pack is already used by Recipes, Menu configuration, Supplier Products or Count Lists, its measured contents and Variant scope are locked. Add a different pack size so historic references keep their original meaning.
A Variant created for every supplier pack
This fragments one interchangeable stock pool and makes counts harder. Link multiple supplier packs to one Product/Variant unless their contents must remain independently stocked.
A materially different item forced into one Product
If allergen, specification, Recipe suitability, base Unit or reporting identity differs, create a separate Product rather than hiding the difference in supplier notes.
Historical offering deleted
Deactivate an obsolete offering so old POs and receipts retain their supplier identity, cost and conversion. Delete only when Flexitill confirms no protected history depends on it.
Wrong conversion repaired by editing the offering
An offering edit controls future transactions. Correct or void the posted Delivery to reverse historical stock accurately.
Manufactured Product selected
Supplier Products are for purchased Products only. In-house output receives its cost and stock through its production Recipe.
Correct or retire a supplier product
- 1Open the Supplier Product from either the Supplier or Product.
- 2Correct cost, minimum order, lead time or future conversion before the next Purchase Order or Delivery.
- 3If another offering becomes the default, mark that offering Preferred. Only one active offering can be preferred for a Product; the first active offering is chosen automatically, and when the preferred one is deactivated the sole remaining active offering becomes preferred.
- 4Turn Active off when it should no longer be selected but purchasing history must remain.
- 5Do not repeat the same supplier code for the same Supplier and Product; ordering and document matching must identify one correct line.
- 6Delete only when Flexitill allows it. Purchase Order or Delivery history blocks deletion; keep the relationship inactive instead.
Review supplier purchasing history
- 1Open the Supplier and set the received From and To dates.
- 2Review posted receipt count, received net value and last received date.
- 3Use the per-Product view to compare purchase quantity, base stock received, net value, average cost per base unit, latest cost and last received date.
- 4Review linked Purchase Orders to understand ordered, outstanding and received activity.
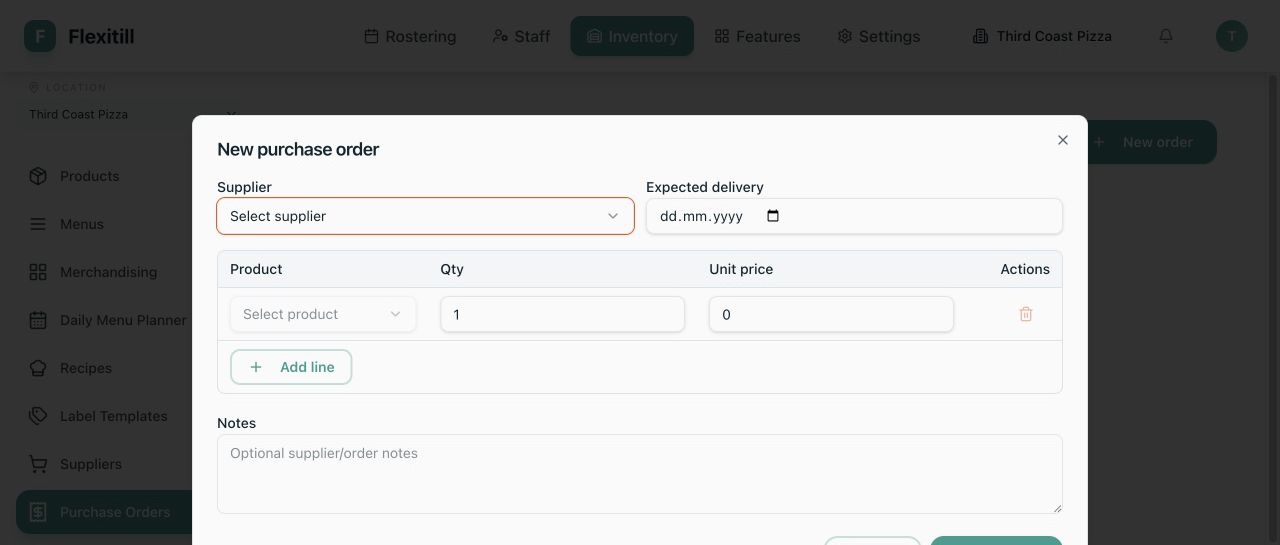
Create a purchase order
Where to find it·Inventory → Purchase Orders
- 1Choose New Purchase Order and select the Supplier.
- 2Enter the expected delivery date and notes.
- 3Add a line and select an active Supplier Product. Enable Show all Products only when an internal Product has no suitable Supplier Product yet.
- 4Check the selected Product and Variant, supplier item name, purchase price, pack conversion, minimum order and last ordered price.
- 5Enter the order quantity. Flexitill rounds it to the Supplier Product's minimum order where required.
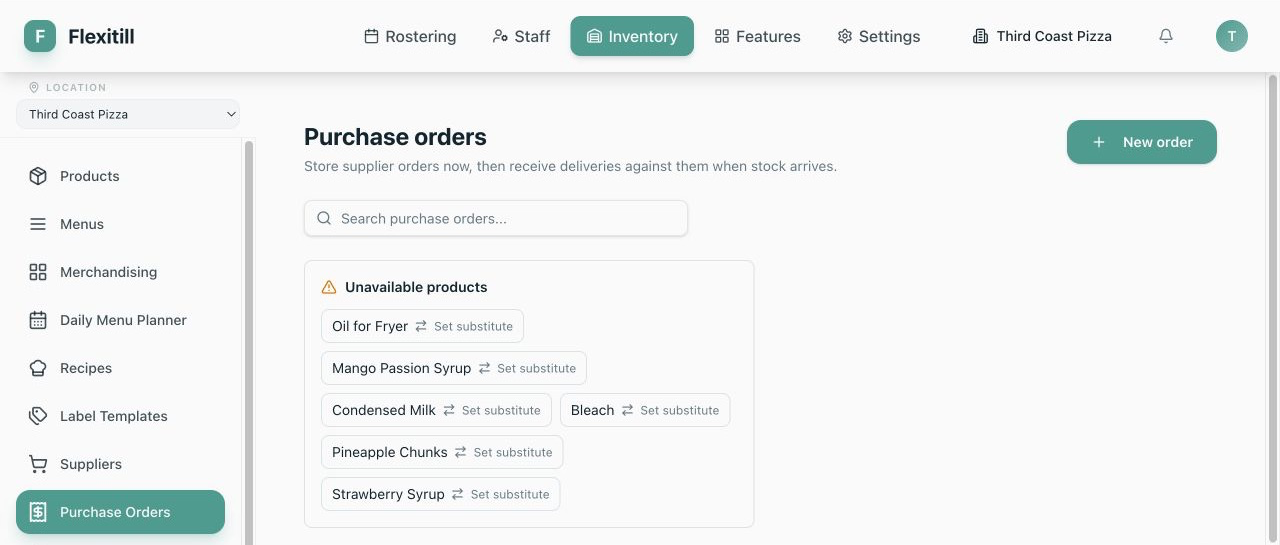
- 6Review any unavailable-Product warning and active substitution before confirming what should be bought.
- 7Add or remove lines, check the total, then create the Purchase Order and open its detail.
Understand purchase order progress
Purchase Orders may show Draft, Pending, Confirmed, Partially fulfilled, Fulfilled or Cancelled. On detail, compare Ordered, Received and Outstanding on every line rather than relying only on the overall status.
Receive stock against a purchase order
- 1Open the Purchase Order and select the location currently receiving the goods.
- 2Choose the default receiving Storage Area and add receipt notes.
- 3Enter the quantity received on each outstanding line. Leave an unreceived line at zero; partial receipts are supported.
- 4Review ordered, previously received and outstanding quantities before posting.
- 5Receive the stock. Flexitill creates a Delivery Receipt, adds stock to the selected area and updates each PO line and the overall fulfilment status.
- 6Open the linked Delivery Receipt when you need price, tax, attachment, correction or void details.
Receive a delivery without a purchase order
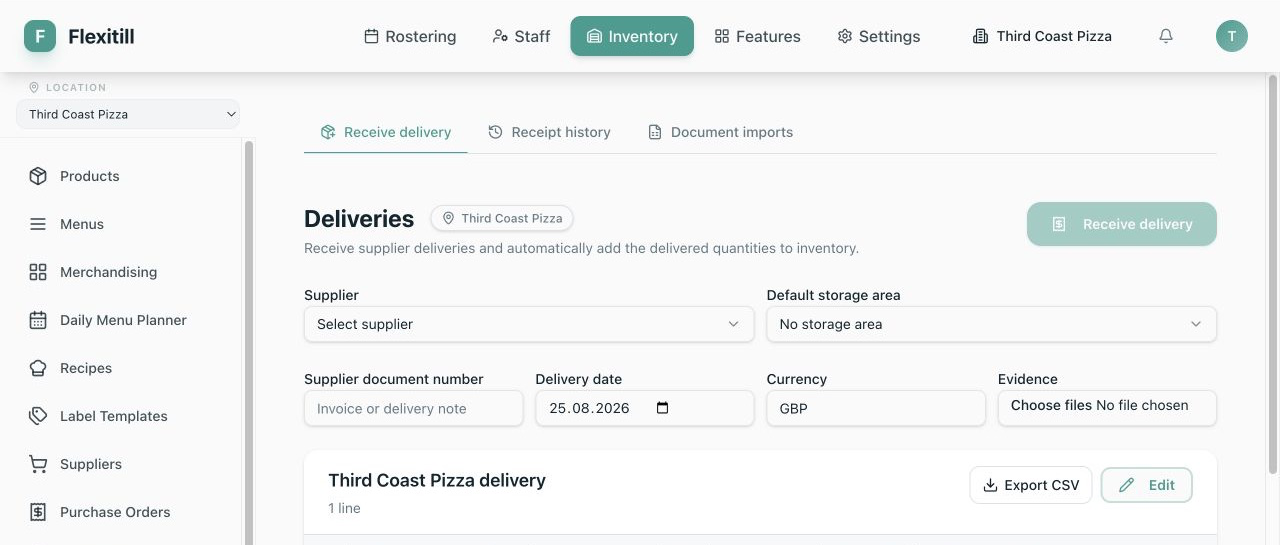
Where to find it·Inventory → Deliveries → Receive delivery
- 1Select the receiving location and Supplier.
- 2Choose the default Storage Area or Unassigned, unless Settings → Inventory requires an area.
- 3Enter the supplier document number, effective delivery date, currency and notes. Attach image or PDF evidence where available.
- 4Add a line and select the Supplier Product. Enable Show all Products when needed or use the quick-add action to create a missing purchased Product without leaving the receipt.
- 5Enter quantity and purchase unit. Check the base units per purchase unit and the resulting stock quantity.
- 6Enter net unit cost and VAT. Compare the previous cost and highlighted change before continuing.
- 7Choose a per-line Storage Area when it differs from the default. For a lot-tracked Product, enter the lot code and expiry date.
- 8Repeat for all items and attachments, then choose Review delivery.
Review and post a delivery
- 1In the review dialog, compare Supplier, location, document number, effective date and line count with the paperwork.
- 2Check each purchase quantity, stock conversion, destination area, lot/expiry, net amount, VAT and gross total.
- 3Return to edit if any value is wrong. When it matches the delivery, choose Confirm and post once.
- 4Wait for the success result. Duplicate-request protection prevents an identical retry from posting stock twice, but do not create another receipt while the first request is still completing.
- 5Verify the receipt in Receipt history and the resulting Product and lot balances.
Find and export delivery receipts
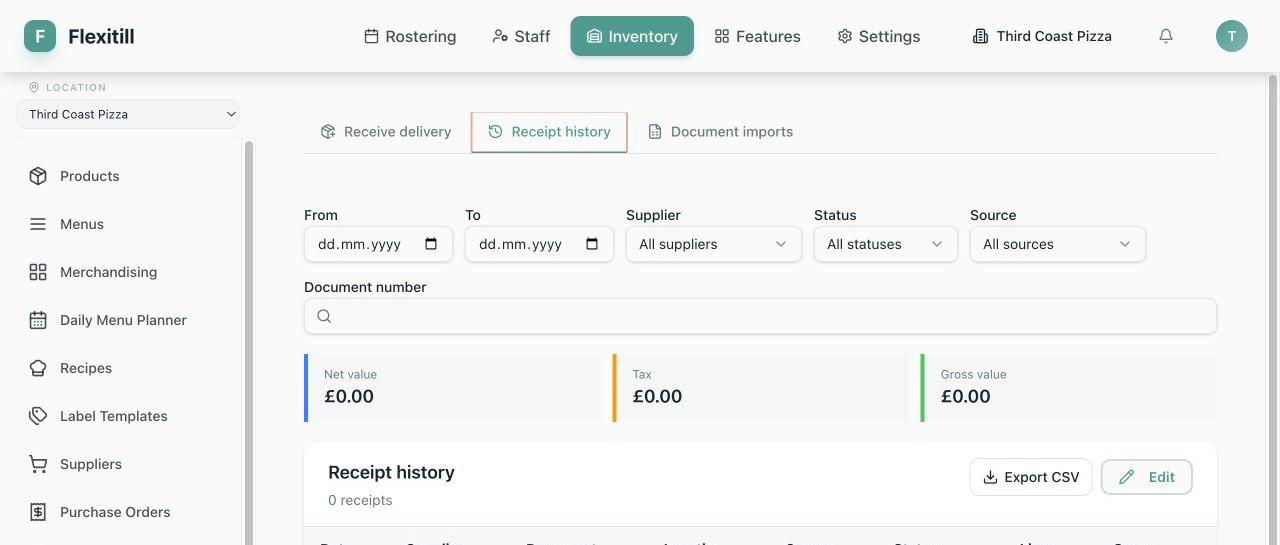
Where to find it·Inventory → Deliveries → Receipt history
- 1Set From and To dates, then filter by Supplier, location, status, source or supplier document number.
- 2Use status Posted, Voided, Replaced or Draft and source Manual, Purchase Order, Electronic import or Correction to narrow the register.
- 3Review net, tax and gross summaries for the filtered results.
- 4Open a receipt to inspect purchased versus stock-added quantities, supplier item, area, cost, VAT, attachments, linked PO and revision history.
- 5Choose Export CSV to download the current filtered register.
Copy, correct or void a delivery receipt
Where to find it·Inventory → Deliveries → Receipt history → choose a receipt
Copy as new
- 1Choose Copy as new when a new receipt is similar to an earlier one.
- 2Check every copied date, quantity, cost, lot and destination. Saving creates a new transaction; it does not alter the source receipt.
Correct a posted receipt
- 1Choose Correct and enter the mandatory reason.
- 2Adjust quantities, unit net costs and VAT as required, then review the replacement.
- 3Post the correction. Flexitill reverses the original and creates a linked replacement revision, preserving both records.
Void a posted receipt
- 1Choose Void and enter a mandatory reason.
- 2Confirm only after checking that the stock can be reversed. Flexitill reverses the exact stock movements and reduces related Purchase Order received quantities.
- 3Verify the Voided status, revision links, Product balances and PO outstanding quantity.
Import a supplier delivery document
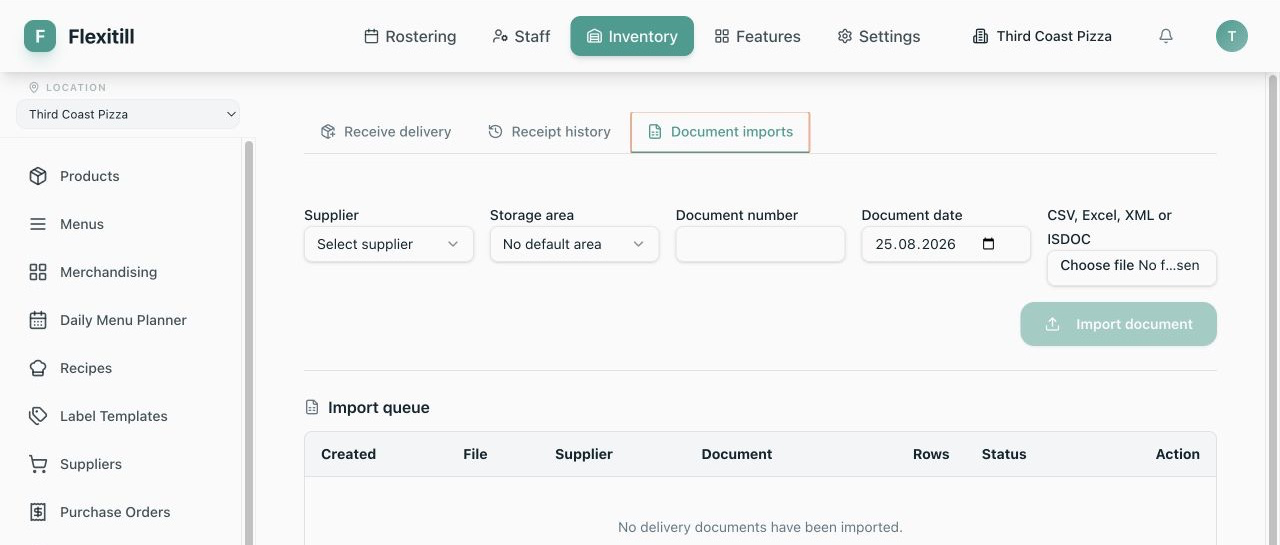
Where to find it·Inventory → Deliveries → Document imports
- 1Choose New import and upload a CSV, XLS, XLSX, XML or ISDOC supplier document.
- 2Select the Supplier, receiving location and default Storage Area, then enter document number and effective date when they were not read from the file.
- 3Wait for processing and open the import review.
- 4For every row, match the Supplier Product or internal Product. Edit quantity, base conversion, net cost and VAT where the source data needs correction.
- 5Mark a row Ignore only when it must not become stock and record why in the review context.
- 6Resolve every required row. Posting remains unavailable while unresolved rows remain.
- 7Review totals and destinations, then post. The completed import becomes a Delivery Receipt with source Electronic import.